Best Clay for Sculpting Faces: A Beginners Guide

Wondering what clay to use to sculpt a face? You’re not alone—“best clay for sculpting faces” is one of the most searched questions for beginners.
But here’s the truth: the clay matters less than most people think.
As a professional sculptor and instructor, I’ve worked with all kinds of clay: water-based, oil-based, and even paperclay. And while some are easier to work with than others, the biggest difference in your final result won’t come from the clay you choose.
It comes from your technique, your ability to see form, and your confidence shaping the forms of the face itself.
That said, there are clays that will make your life easier, and a few that will absolutely slow you down. This post will walk you through:
- The best type of clay to use for sculpting faces
- What to avoid (especially in water-based clays)
- When oil-based clay is useful
- And how your tools matter just as much as your material
Want to get my exact sculpting tool recommendations? Download the free Tool Guide here.
Table of Contents
- Why Clay Isn’t the Most Important Decision
- What Clay to Use for Sculpting Faces
- What to Avoid (Clay Types that Slow Beginners Down)
- When to Use Oil-Based Clay
- The Tools That Help You Sculpt Expression
- Get the Tool + Materials Guide
Why Clay Isn’t the Most Important Decision
It’s easy to get caught up in choosing the perfect clay, especially when you’re sculpting a face. But the truth is, clay isn’t what determines the quality of your work. What matters far more is how well you can observe form, understand proportion, and translate that into three dimensions with your hands.
That said, your clay shouldn’t get in the way. The right material will support your process, not sabotage it.
Here’s the real priority:
- Form > Material: Great results come from how you see and shape, not what’s in your hands.
- A good clay helps—but it doesn’t teach you how to sculpt.
- The wrong clay can create frustration: Too dry, too gritty, too sticky—and suddenly, it’s hard to learn anything.
Choose something reasonable, and move your focus to where it counts: learning how to actually sculpt faces.
Read: How to Sculpt a Portrait in Clay (Beginners Guide)
What Clay to Use for Sculpting Faces

For most face studies, the best clay to use is a water-based sculpting clay. It’s what I use in my own studio and what you’ll find in nearly every classical sculpture atelier.
This type of clay is:
- Soft and responsive when fresh—perfect for blocking in large shapes
- Firm enough as it dries to refine subtle facial planes and details
- Easy to control the workability of the whole sculpture (add or remove moisture)
- Durable—it can be kiln-fired for permanence or molded if you plan to cast
- Widely available and affordable for beginners
You can usually find it at a local pottery store or sculpture supplier, they often stock a wide selection of clays with different textures and grog content. I like to use a low-fire clay with a fine grog content, but you can use any clay that is meant for modelling. Just ask for a water-based modeling clay suitable for hand-building or figure sculpting.
Don’t have access to a specialty store? No problem. Most art supply stores also carry a standard sculpting clay that works well. Just make sure it’s labeled for modeling, not air-dry.
Compare water-based, oil-based, and air-dry clay options here.
And yes: this is the type of clay that needs to be kept moist and is typically fired in a kiln if you want to preserve the sculpture.
Not ready to fire yet? That’s okay. Many students start with short-term studies to build skill, without worrying about permanence. The good news is that if you prepare your sculpture well for hollowing, you can kiln-fire it at a later date (the clay does not “expire”)
Worried about drying or cracking? Here’s how to keep your clay from drying out during sculpting.
What to Avoid (Clay Types That Slow Beginners Down)
Not all clay is created equal, especially when you’re trying to sculpt a face. Some types will actively work against you, making it harder to shape subtle forms or refine your work. Here’s what to steer clear of:
- Porcelain – While beautiful in its finished state, porcelain is notoriously fickle. It shrinks heavily, dries fast, and is difficult to control unless you already have strong hand-building skills. Not ideal for beginners.
- Coarse grog clays – Grog is a gritty additive that strengthens clay—but too much of it makes the surface sandy, difficult to smooth, and frustrating when working on facial features. For portrait work, stick with fine grog.
- Air-dry clays – These may seem convenient, but they crack easily, and the lack of plasticity will limit your ability to shape forms and sculpt refined detail. They’re better for quick crafts or small figurines, not expressive or anatomical studies.
Want the full breakdown of different clay types? Compare water-based, oil-based, and air-dry clays here.
If you're serious about learning to sculpt the face, your materials should support you - not sabotage your learning curve.
When to Use Oil-Based Clay (And When Not To)
Oil-based clay, often called plastilina, is a favorite among professional sculptors for certain kinds of work. It stays soft indefinitely, doesn’t require moisture control, and holds sharp detail beautifully. It’s especially useful for projects that need long working time or will be molded and cast.
Pros of oil-based clay:
- It never dries, so you can rework your sculpture over days or weeks
- It captures precise detail, ideal for maquettes, character models, or mold-ready forms
- It’s perfect if you’re planning to cast in plaster, resin, or bronze
But there are trade-offs:
- Oil-based clay is not permanent. You’ll need to create a mold and cast the sculpture to preserve it
- Moldmaking is a complex and often expensive process, especially for beginners
- Some oil-based clays contain sulfur, which can interfere with certain silicone mold materials
- It typically is softened through heat, such as a microwave or heat lamp, which makes it harder to control the overall hardness and workability of a full sculpture
If you’re already comfortable in the studio and plan to cast your work, oil-based clay can be a great option. But if you’re just starting out and want to make a finished sculpture without diving into moldmaking, water-based clay is a much simpler, more forgiving path.
Trusted oil-based clay brands include: Chavant NSP, Roma Plastilina, and Monster Clay.
The Tools That Help You Sculpt Faces in Clay
Even if you’ve chosen the right clay, your sculpting tools are what allow you to actually shape the form with precision. This is where many beginners get tripped up: they grab a basic pottery kit and wonder why everything feels clumsy.
Here are the main tools you actually need for sculpting faces:
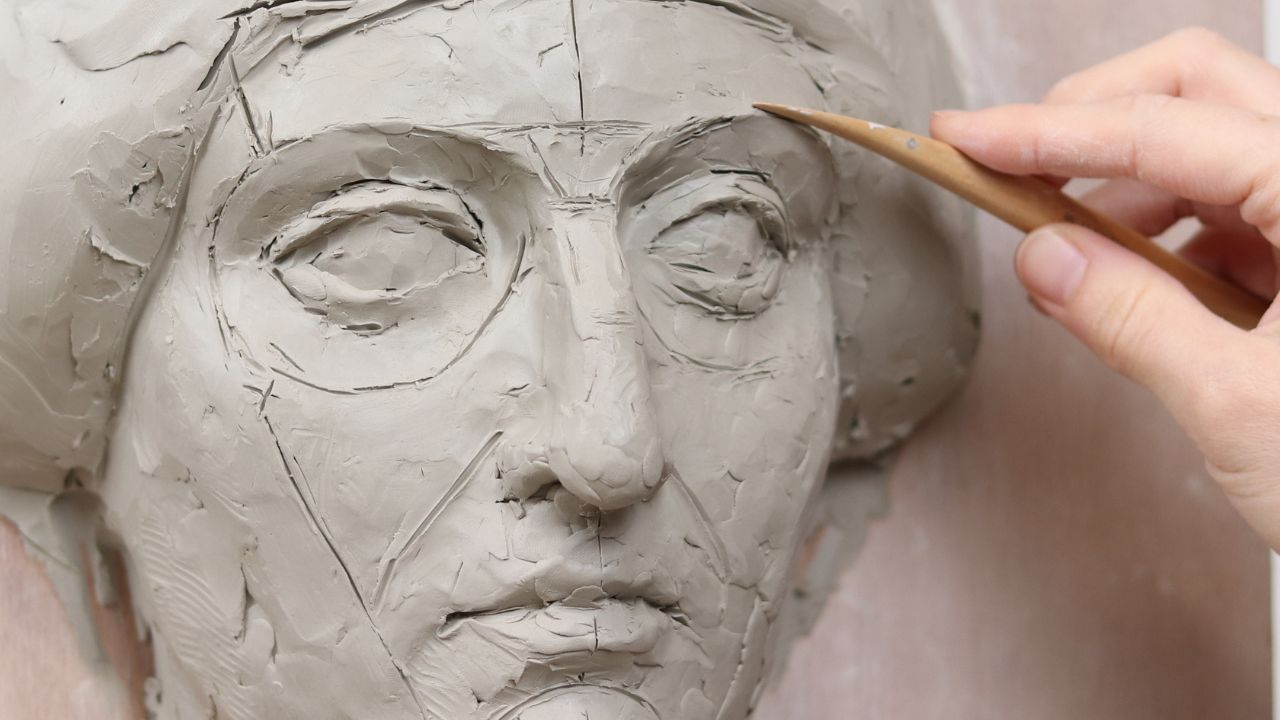
- Refined wooden modeling tools – Small and precise shapes that help you define eyes, lips, and planes with intention
- Loop tools – For subtracting clay and refining forms
- Measurement tools – Like calipers, for realistic proportions in portrait work
Want to dive deeper? Read the full Sculpting Tools for Beginners guide here.
To make things easier, I also created a free downloadable Tool Guide with specific model numbers, suppliers, and the exact tools I recommend to my students. You’ll find that in the next section below.
Get the Tool Guide
Choosing the right clay is a great start, but your tools are just as important. If you’re ready to sculpt faces with more confidence, make sure you’re working with tools that support your process.
I’ve put together a free 10-Tool Beginner Kit PDF with:
- Tool names and photos
- Specific model numbers I recommend
- Where to find them (no guesswork or overspending)
These are the same tools I use in my studio and recommend to all my students inside the Atelier program.

ARE YOU ON THE LIST?
Online Atelier Program for Sculpture:
Master the foundations of traditional clay figure sculpting.
Enter Your Details Below to Get Notified:
You can unsubscribe at any time.